


In the age of AI, having an effective and well-organised conversion tracking system on your website is crucial. Visitors are becoming fewer and more qualified, so you need to be able to determine the best performing online advertising channels or campaigns with certainty. To achieve this, you should install a global tracking code like Google Analytics code and various specific conversion tracking codes.
A conversion is recorded whenever a prospect clicks on a form submission button, or a link to an email or phone number, downloads a PDF, or performs other events such as displaying a specific page on the site.
Google Tag Manager (GTM) is a tool often overlooked by the general public. However, it can be incredibly useful for managing numerous conversion tracking codes that would otherwise require manual addition to a website. This can be particularly challenging for marketing managers, especially those who aren’t developers themselves. Even for professional developers, maintaining a large number of heterogeneous JavaScript codes, especially on e-commerce sites, can quickly become difficult and may negatively impact the overall quality and performance of the site.
So here is a small introduction to make it easier to get started with the GTM interface, which can be intimidating when you take your first steps.
Install a single script on your website
The first task is to create on your GTM account a container dedicated to managing the scripts of your website. You will immediately be asked to place a piece of Javascript code in the header of the HTML pages (Head) of your website and a noscript tag with an iframe in the body of the page (Body). In CMS, this operation is often performed at the template/theme level or through specialized plugins such as WPcode (Wordpress) or LM-Custom-SITE (Joomla). All requests will then go through Google's servers. Of course, Google installs external cookies on your website, so make sure that cookies are blocked when the page is loaded by your CMP (consent management platform) and returns the settings specific to Google consent mode v2. That's it, it was the last technical modification to be made on its website before moving to GTM.
Tags, triggers and variables
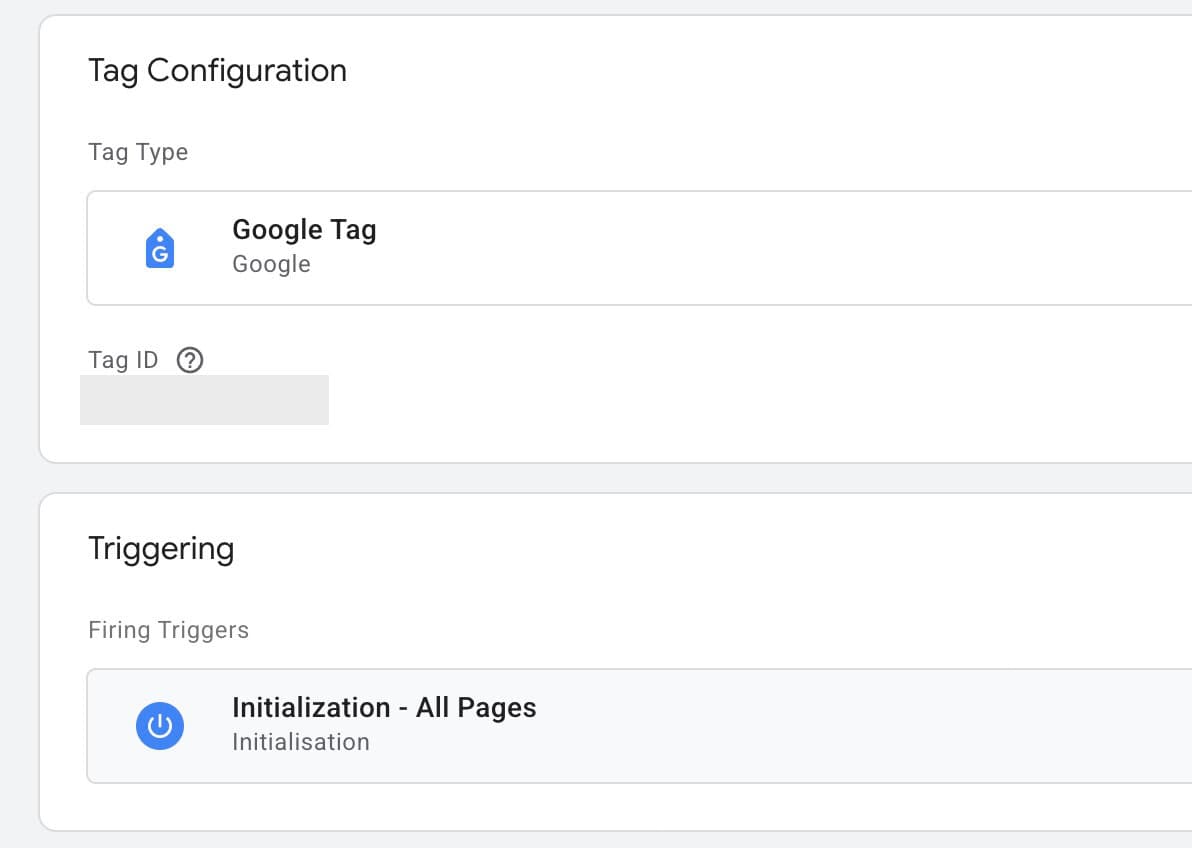
The GTM interface has three main headings: tags, triggers and variables. You can create tags for the main services you will use such as Google Analytics or Google Ads, but also for non-Google services such as Linkedin Insight. Moreover, a custom HTML tag theoretically allows you to add any tracking code.
To specifically inject the Google Analytics code that will analyze your website's traffic, you must create a Google tag including the Google Analytics account identifier that you will find in the data collection settings. You will then add a Google Analytics Event tag for each conversion action you want to measure.
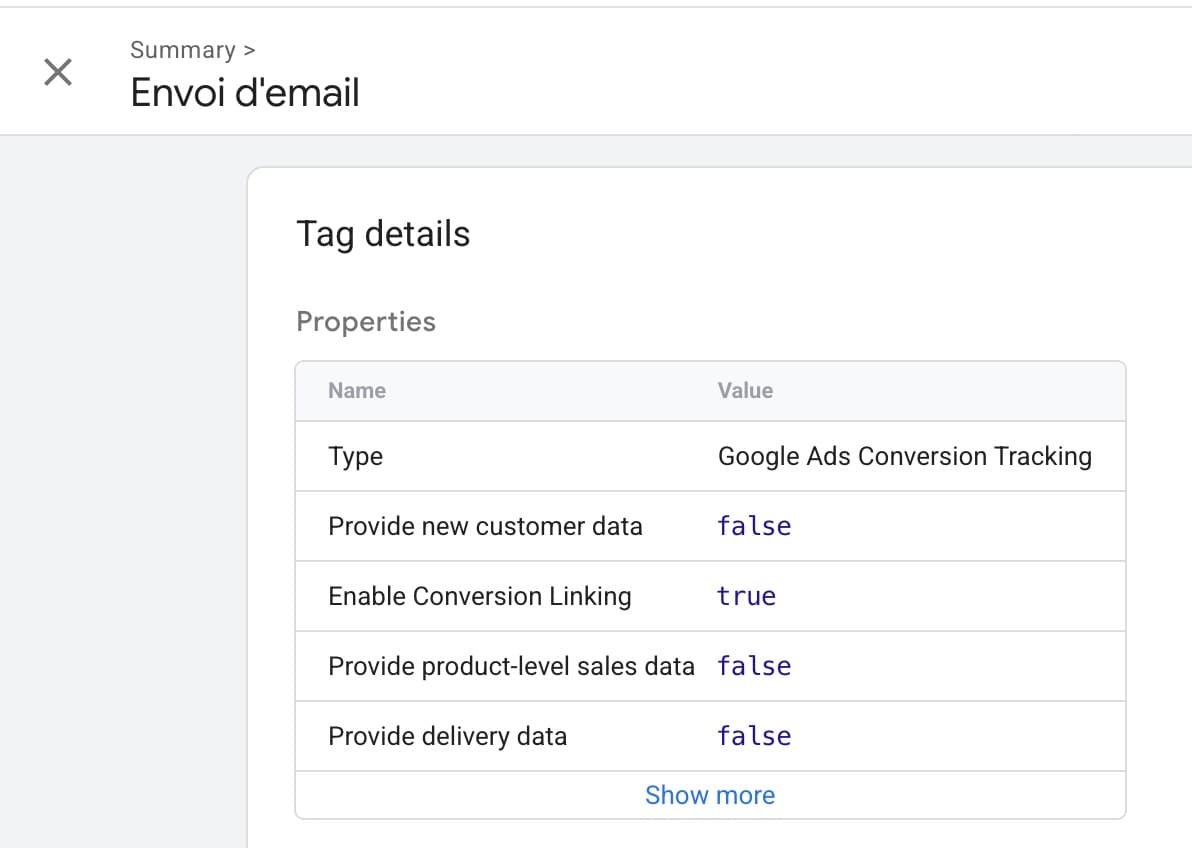
For Google Ads, it will be necessary to create a Google Ads Conversion Tracking tag for each conversion element you have defined, to add a mandatory Conversion Linker tag, as well as a tag displaying the Google Ads ID.
The principle is to associate these tags with events created in the triggers section. These events can be triggered by displaying a landing page identified by its path or on the contrary on all pages, detecting a click on an email-type link, a phone number, a PDF or sending a form. Many elements of the DOM of an HTML page can be taken into account such as a CSS id or class, an URL, various form attributes, the form submission or the percentage that an user has seen of a page or video.
The variables section allows you to enable or deactivate these elements and possibly create custom variables according to needs. It is also possible to export all or part of your container to reuse it on another site. This feature is in the Admin section.
Don't forget to publish your changes and test them
For the changes to become active on the website, do not forget to click on the Publish button and add a comment. GTM uses a version management system that allows you to find the modification history. It is also possible to test the proper functioning of its tracking codes before or after the publication of the changes. After clicking on the Preview button and indicating the page you want to audit, GTM allows you to test your live conversion actions on the site. By returning to the dashboard, you can identify the different tracking codes used on the page and if the conversion actions have been triggered. In the case of Google Ads, GTM indicates the conversion identifier and label triggered after clicking on the conversion action. You can then search for these identifiers using the search field accessible at the top in the GTM workspace to find the tag or trigger responsible for the conversion and possibly make an adjustment.
In summary, GTM is a very interesting tool, because it makes easier the management of the many conversion tracking codes used on professional websites by removing the technical barrier that can be a brake, even for a developer, if you manage a site with many pages and many events to observe.
Learn more:
Managing cookie consent in Switzerland with your Joomla or WordPress CMS